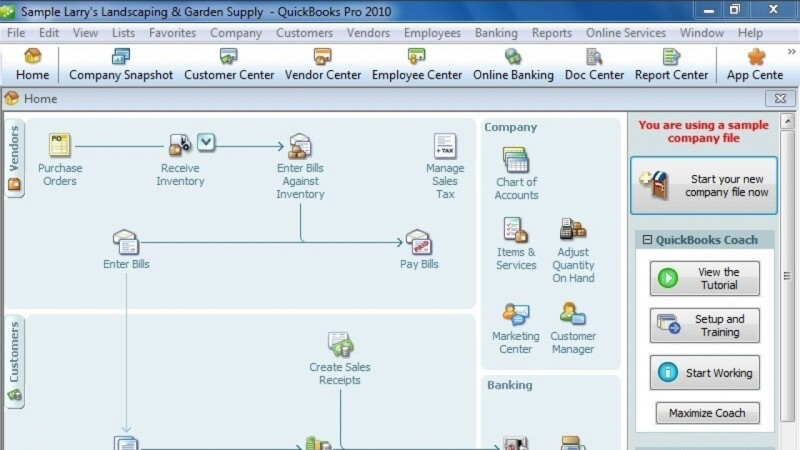
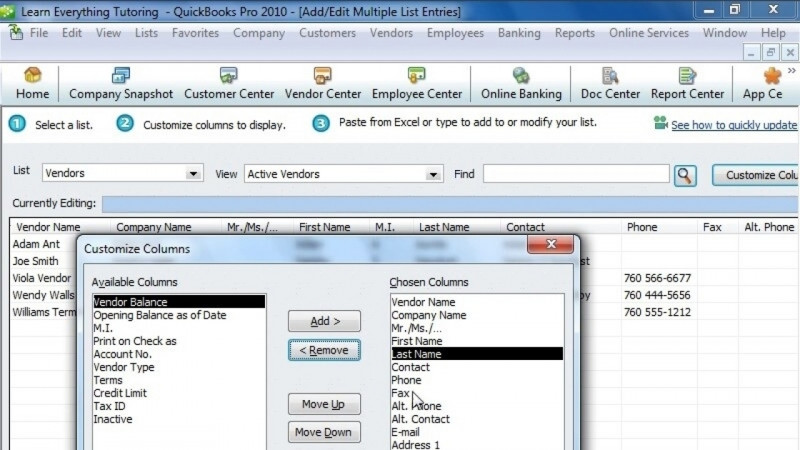
Hello. My name is Takesha Strong. In these lessons we'll learn to track credit and vendor card activity within QuickBooks. We'll learn to reconcile those accounts, and we'll also learn to accept credit card payments from our customers. Tracking activity for credit and vendor cards within QuickBooks is very similar to tracking activity from your bank account. Let's take a look at the chart of accounts to see how to set up the General Ledger account. To track the transactions, select the chart of accounts tile from the company portion of your homepage. Scroll down to the Liability section of the report. You'll see, we've already set up new credit card for our new credit card vendor. Now let's set up a vendor credit account. We'll press CTRL N for new. And in this case, we'll actually select other current liability. Press continue. Under account name. We'll call this new vendor card? Press Save and close. You'll see the difference between the two is credit card has its own account type within QuickBooks which acts very similar to a bank statement, whereas the new vendor card is just another current liability. As we go through the lessons, we'll compare and contrast to see how very little these two differ. Let's go back to the Home page. Let's begin to enter our transactions related to the credit card charges. We'll use the sample statement to the left to enter Charges. Our previous balance from the statement has already been entered. Press enter credit card charges in the banking portion of your homepage. At the top you'll see the form looks very similar to that of writing a check from your bank account. You can select New Charge, save the charge, delete or void the charge. Create a copy, memorize the charge. If it's something recurring, attach a file such as a receipt. Download credit card charges. If you believe your credit card merchant is available, select a PO to enter Charges. Clear any splits if the charge has been allocated to different GL accounts, or recalculate the entry as you move on to the next portion. Since we have multiple credit cards on the account, you'll want to make sure that the appropriate credit card is selected before you begin to post charges. You can post purchases and charges and you can also toggle to post a refund or a credit. Let's go back to charges. You'll see that we have the prior ending balance as 189 43. To match the balance on the statement. Let's begin to enter the purchases beginning with the Gas and Go for $35.24. We'll select Gas and Go from the vendor list and enter the amount of 35 24. You can enter a memo item if you like. You'll see, now you have the Expenses tab and you have the Items tab. If the credit card purchase was used for an inventory part or any type of service included on your inventory list, you can use the Items tabs to record it. However, in this case. The gas and go was used for fuel, so we'll select that from our GL account list. You can enter a memo, assign this charge to a customer or job, make it billable back to the customer, and assign a class if you so choose. Let's press save and New to continue. We'll take a pause to enter the other charges from our sample credit card statement. We've entered all our charges from our sample statement and now we can hit Save and Close. We'll want to take a look at the transaction history, but we know we can't use the check register because this isn't a bank account. So we'll go back to our chart of accounts. If we'll scroll down to the credit card section, we can double click New Credit Card to see the full transaction history. You'll see, we have our original balance along with the following transactions that post to the statement. The only thing missing now is a credit card payment. Let's walk through how to post that transaction. Let's circle back to the home page. We'll select Write Checks from the banking portion of the home page, select the appropriate bank account, and we'll select our new credit card from our vendor list to pay the credit card. If you have a reference number, you can enter that here. We'll note the date of the payment, the amount of the payment of $10, and then we'll select our new credit card as a corresponding account. Let's press save and close. Now we'll revisit the transaction ledger to make sure that credit card payment has posted properly. You'll see, now the balance matches that noted on the credit card statement, and we have our $10 payment above. Now that we've posted the payment, let's press the Chart of Accounts tile in the company portion of the home page to make sure the payment has posted correctly. Scroll down to credit card. Select new credit card. And now we'll see that the balance is 1000 matching with the balance on our sample statement. And our credit card payment has been posted as well. This same type of view is exactly what you'll see when you create a new vendor card as a current liability instead of a credit card. There's no right or wrong answer, but I just wanted to show you the difference in views. So you can use the transaction ledger the same way you would for a vendor card as a credit card. The only thing you be missing is the ability to use this tile to enter vendor card charges if the account is set up as a current liability. In the next lesson, we'll walk through how to reconcile credit card or vendor card accounts. Thanks for watching. Bye.