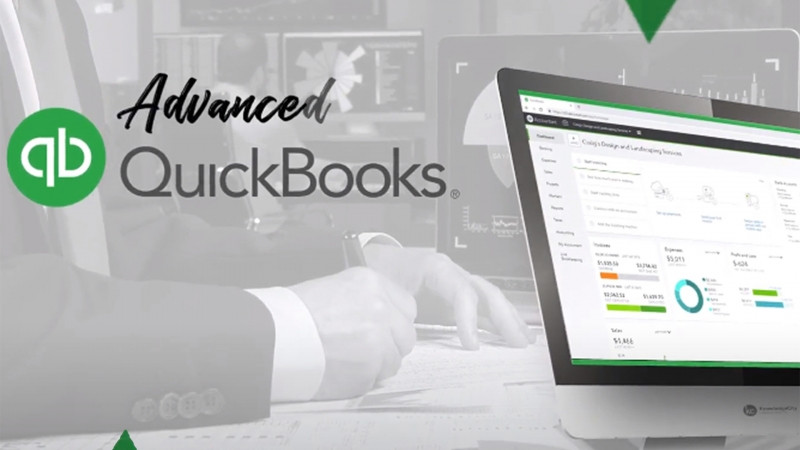
Hello, my name is Tequisha Strong. In these lessons, you will learn how to add customers, vendors, and employees to your UBO file. We'll be using our sample company, Craig's Design and Landscaping Services for the lessons. Let's get started, no matter who your company serves, each business has a customer base. They can be referred to as clients, customers, nonprofit donors, business partners, or whatever name suits your company best. Ultimately, QVL defines customers as the individuals or businesses your company provides its products and services to, or in the case of nonprofits, those that provide funds to your organization. Let's take a look at get paid and paid from the left panel menu. Let's select customers to get started with creating a new customer. In the Customers tab, you'll see we first have a dashboard that lists any open estimates, any un-build activity, any unpaid activity, open invoices, and paid invoices over a certain time frame. At the top right is where you'll add new customers. If you'd like to differentiate between the types of customers you have, for example, all nonprofit businesses, or if you're selling subscription levels and you want to separate your customers between members and non-members, you can create new customer types using this tab. Let's go back to the customer screen. Under new customer, we have a drop down to import customers or to create a new customer from scratch. There are several different sections of the new customer screen. You have the name and contact information, where the address book icon will match this section. You have addresses, notes and attachments, payment terms, and any additional info. Let's create new customer. The company name will be their company. You can choose to display the customer's name by first and last name, by company name, or by last name, then first name. You can add their email address, phone number, mobile number, and note the name that should be printed on any checks. If by chance this customer is a sub-customer or subsidiary of another parent company, you can note so using this checkbox. Next, you'll add the address details for your new customer. If the shipping and billing addresses are the same, you'll toggle that feature here. If you have any notes that you'd like to have attached to the customer's file, you can add that information here, along with adding an actual file. Next, you can note the primary payment method that the customer will use to address your invoices. You can note the type of payment accepted, the primary terms of payment related to this customer. If you do not select the terms, QuickBooks will use your company default. Sales, form, delivery options, you can choose to print the invoice, send it later, or use the company default. And you can also select your language. If you've created a custom customer type, you would be able to select that here from the dropdown menu to assign your customer to that type. If your company selects and assigns sales taxes, or if this company is exempt from sales tax, you can note that using this option here, along with the topple box. If not, you can note the default tax code specific to this customer or use your company's default. For companies that are migrating their existing accounting system, even if it's just an Excel to QBO and the customer that you've created in QBO already has an outstanding balance with you, you can note that opening balance here in the screen and note the date of the last transaction that relates to that balance. Hit Save to save the customer to your QBO file. You'll see now that you have a new customer here, label their company. If you'd added any notes that would be listed here, any existing or past transactions will come to this tab, you can see the customer details. If the customer has been assessed any late fees, you can edit the customer or make them inactive. And directly from the customer's screen, you can start any type of transaction specific to this customer. In the next lesson, we will learn how to add new vendors to your QBO file. Thanks for watching.